Divi Divi Divi. What can’t it do?
Well. If we’re being honest, a few things.
One of those few things that Divi can’t do out of the box is a filterable image gallery.
What if we want a to do a fancy filterable image gallery on our Divi website build? Well my friend, let’s figure that out together.
Add A WordPress Gallery Plugin
First things first, you’ll need to download a gallery plugin. “But why Jaroncito? Why do we need to add a gallery plugin to our website if Divi has a gallery module?”
Great question! I’ll tell you. We need to be able to add galleries to the Divi Tabs module. You can’t go embedding Divi modules within other Divi module you silly goose! Well…technically you can, but that is a conversation for another time.
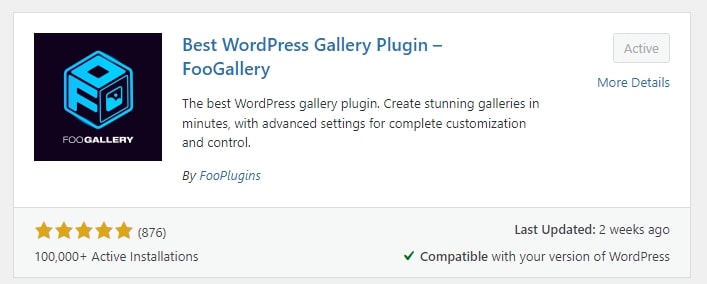
There are many WordPress gallery plugin options out there. I’ll be using FooGallery in this guide which can be found at the WordPress plugin repository here.
Simply download that badraddery from the WordPress plugin page, upload to your website, and activate to get started. Or, you can download it directly to your website by going to your WordPress dashboard, clicking on Plugins, then clicking the “Add New Plugin” button in the top left of the screen.
Search for “FooGallery” on the next screen and download this badboy.
Now your ready to make some galleries! Awwww yeeeeeah!
Create A FooGallery Image Gallery
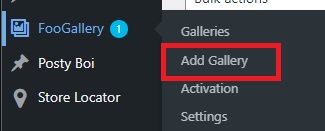
To create your first gallery, hover on “FooGallery” and click on “Add Gallery”.
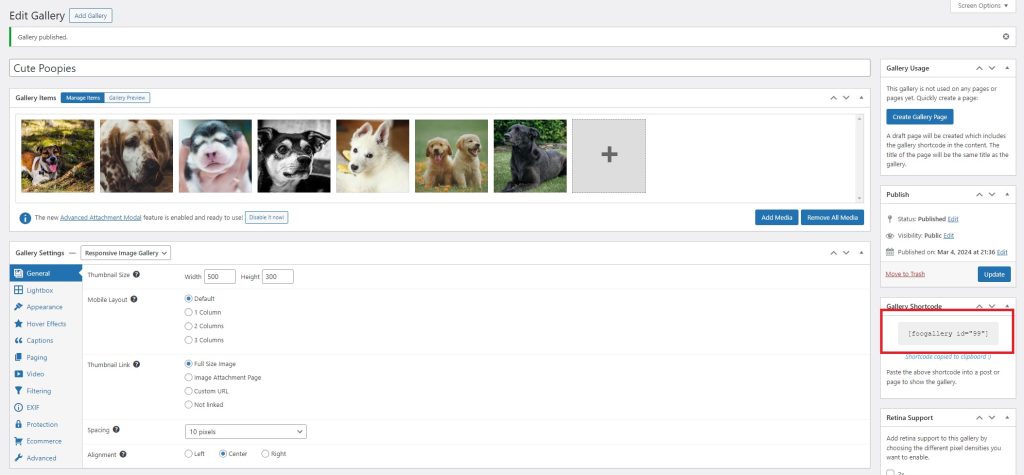
Go ahead and give your gallery a title and start adding images straight from the website media library or from images stored on your computer.
There are a lot of customization settings on the free version of FooGallery that you can tinker with to dial in how you would like to display your image gallery.
Once your images are added to your gallery go ahead and hit the blue “Publish” button to publish your gallery.
Once published, you’ll now have a “Gallery Shortcode” that we’ll need in the following steps.
Add the Divi Tabs Module To Your Page
Ooookay. Moving right along.
Let’s now add a Divi Tabs module to our page.
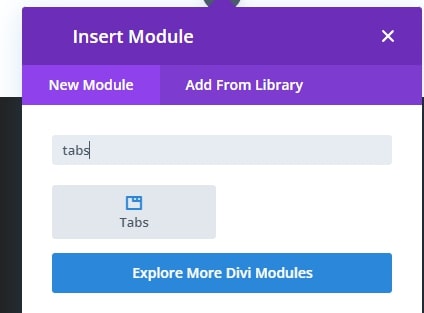
Once added, hot on into those tab settings and let’s add us some image gallery shortcode!
In the Tabs module settings, click the gear icon next to the first default tab.
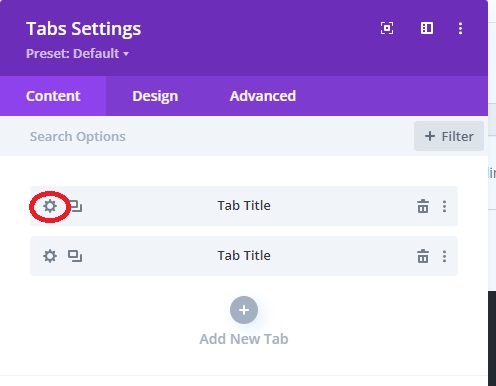
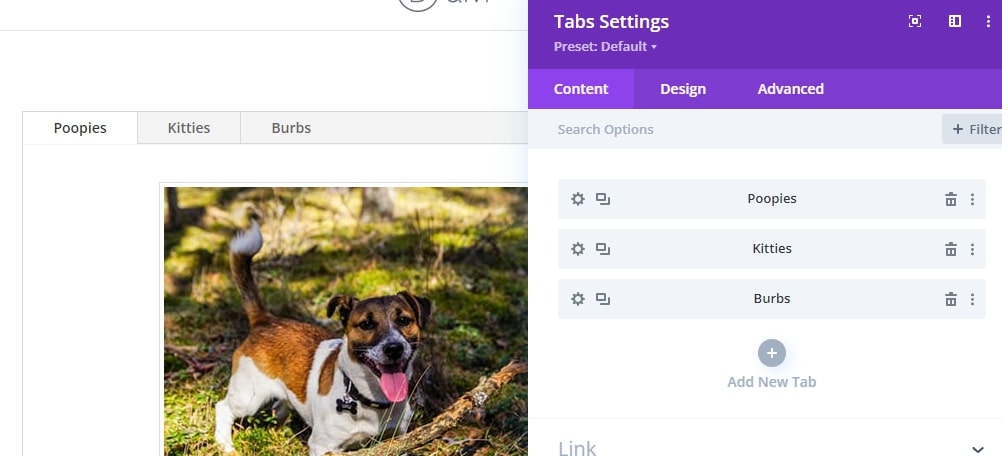
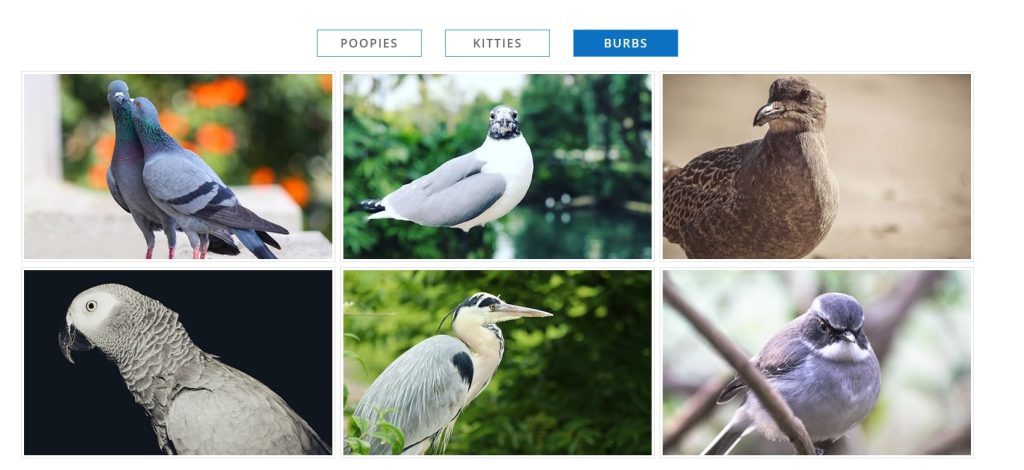
Update the Title to whatever you’d like to display on the filterable image gallery tab. e.g. “Poopies” in my example.
Next, we’re going to add the image gallery shortcode to the Tabs module. Go ahead and paste that into the “Body” field.

Huzzah! If you are using the Divi Visual Builder, you should now see your FooGallery appear. Well done!
Add Additional Tabs The Divi Filterable Image Gallery
Now it wouldn’t quite be a Divi filterable image gallery unless we added more tabs to our filter. I mean, for goodness sakes, that would just be a standard gallery!
Go ahead and rinse and repeat the above steps; create more FooGallery galleries, add additional tabs to your Divi Tabs module, paste gallery shortcodes into the tabs.
Before you know it, you’ll have a beautiful Divi Filterable Image Gallery!
I’m not crying. You’re crying.
It’s…sniff…beautiful…
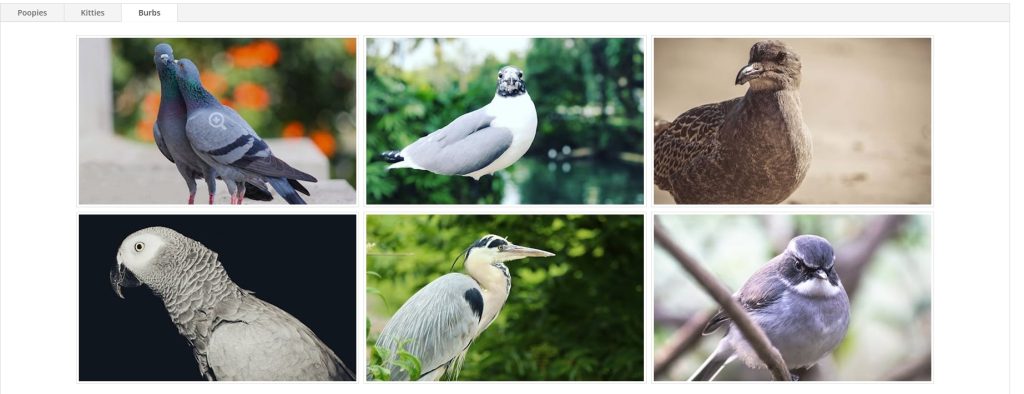
You can also get creative with the built in Divi Tabs design settings as well as your own css to achieve a more desirable appearance.
Very nice indeed!